How to Fix “The Exception Breakpoint Has Been Reached” Error on Windows?
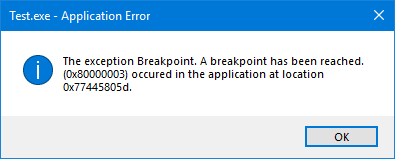
The error message “The Exception Breakpoint Has Been Reached” on Windows typically indicates a program has hit an exception while running, and the operating system’s debugger has stopped the program execution to inform the user of this exception. Users may see this error during an attempt to shut down or restart their system or when launching certain applications.
The issue often stems from problems within the application itself, such as outdated or corrupt installations. Corrupted system files, memory allocation issues, and conflicts with third-party applications are other potential causes.
Corrupted system files can disrupt operations and lead to unusual behavior. Inefficiencies in memory allocation can cause instability and crashes. Similarly, conflicts with or outdated drivers from third-party software can interfere with system processes.
1. Disable Automatic Startup Apps
Conflicts and errors can arise from third-party apps configured to run at startup, along with essential Windows Services. To identify the root cause, users should disable all automatic startup apps and then restart their system.
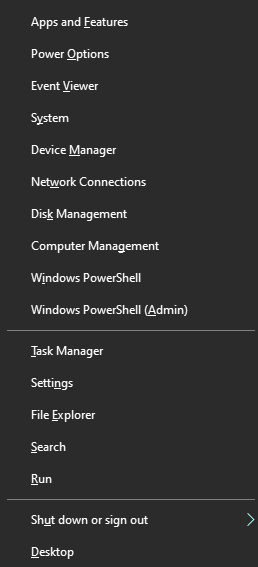
- Press the Windows + X keys to access the Quick Link Menu.
- Select Task Manager from the menu.
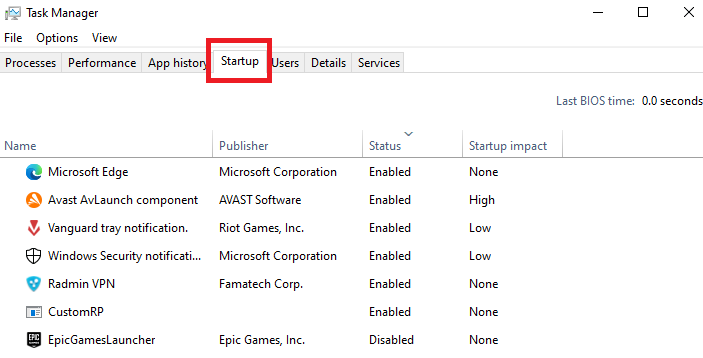
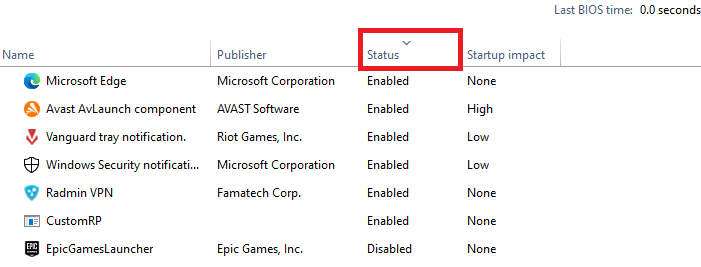
- In Task Manager, go to the Startup tab.
- Click on the Status column header to sort the apps.
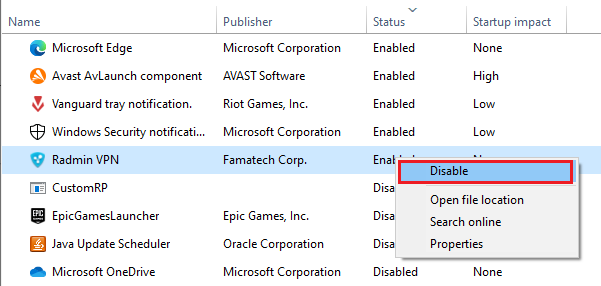
- Right-click on each enabled app and choose Disable.

Restart your PC after disabling the apps to see if the error is resolved. If the error no longer appears, you might re-enable the apps one by one and restart your PC after each to find the troublesome software. Then, apply the appropriate corrective action.
2. Run System File Checker (SFC)
The System File Checker (SFC) is a Windows utility that checks for and fixes corrupted or missing system files. Running an SFC scan can help resolve various system-related issues, including the “The Exception Breakpoint Has Been Reached” error.
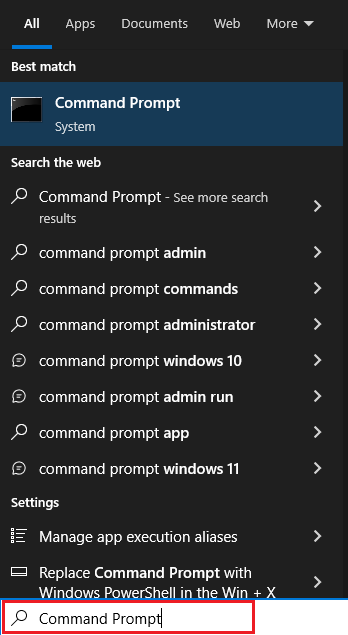
- Open the Search box by pressing Windows + S, and type in Command Prompt.
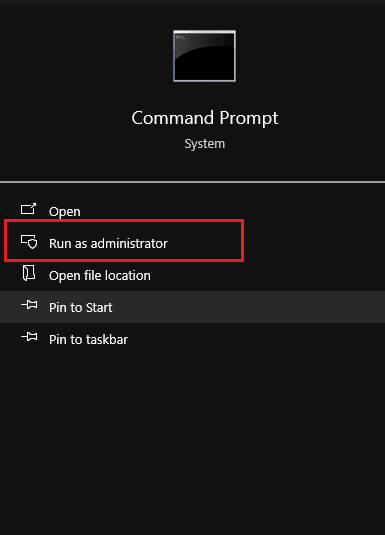
- Right-click on Command Prompt and select Run as Administrator from the context menu.
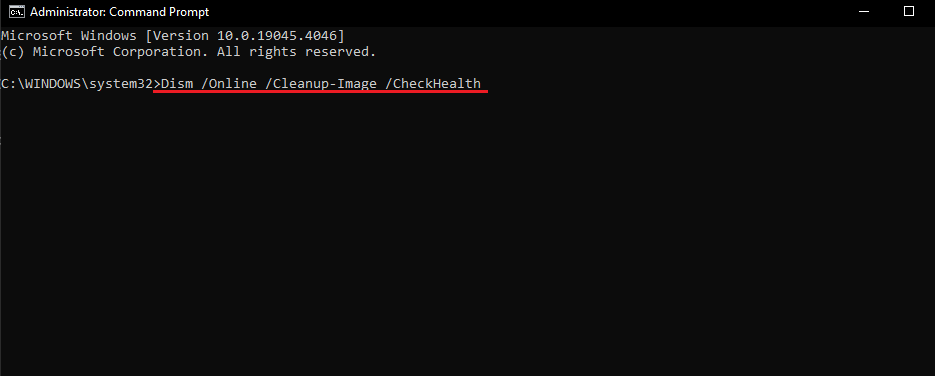
- First, type the command to check System Health, then press Enter:
Dism /Online /Cleanup-Image /CheckHealth
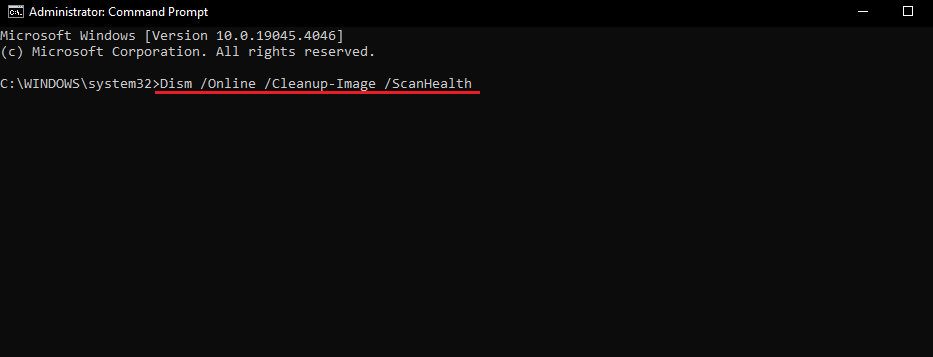
- Type and execute the following command to perform a PC Health Check:
Dism /Online /Cleanup-Image /ScanHealth
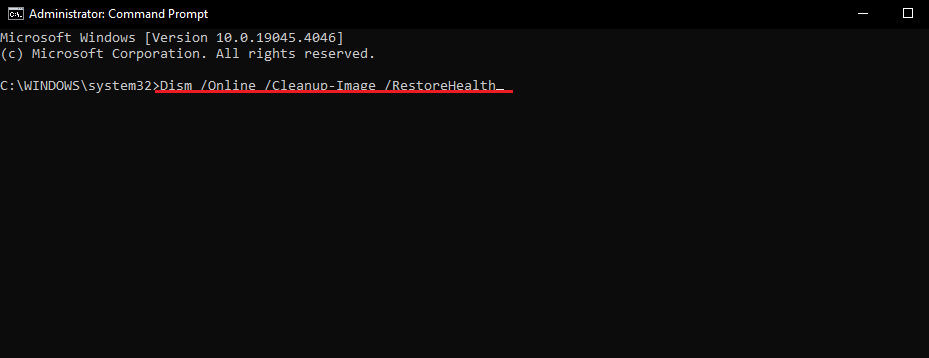
- To repair the System Image, enter this command:
Dism /Online /Cleanup-Image /RestoreHealth
- Be patient as this process may take a while to complete.
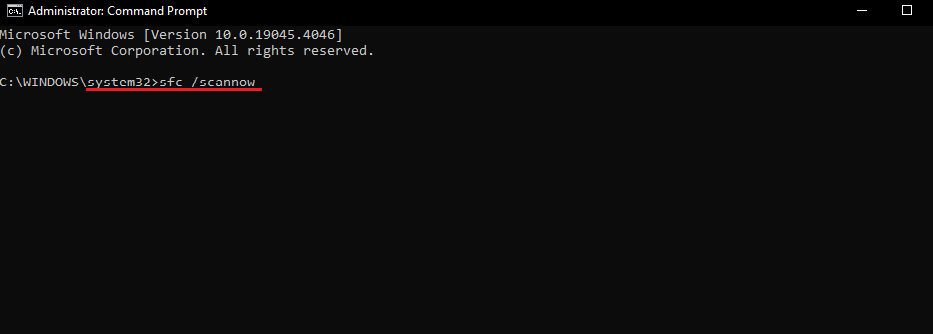
- Once done, initiate the System File Checker by entering:
sfc /scannow
- Close the Command Prompt by typing Exit and pressing Enter.
3. Run Disk Checker
CHKDSK (Check Disk) is a Windows command line utility that scans disks for storage problems and fixes issues such as bad sectors, file system corruption, and directory errors.
- Access Command Prompt as Administrator again.
- Enter the following command and hit Enter to run the utility.
chkdsk C: /r
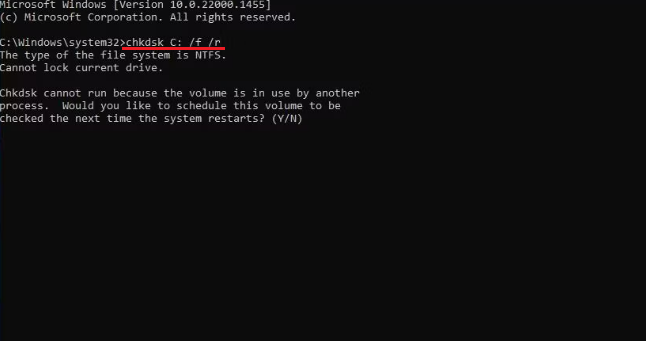
Allow the command to check the system drive (C:/) for bad sectors. When the scan finishes, close the Command Prompt.
4. Check for Memory Leaks
The Memory Diagnostic Tool helps detect memory-related problems, such as ineffective management and utilization of memory resources. Before using this tool or running any diagnostics like CHKDSK, back up your data.
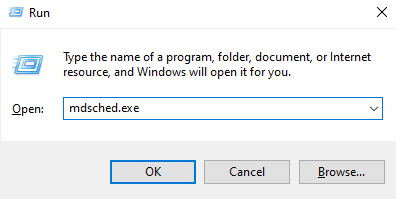
- Open the Run window by pressing Win + R.
- Type mdsched.exe in the search bar and press Enter to schedule the next system startup.
- Restart your PC as prompted.
- Select Advanced options like Test Mix or Pass Count for a more thorough scan. Press F10 to start the test.
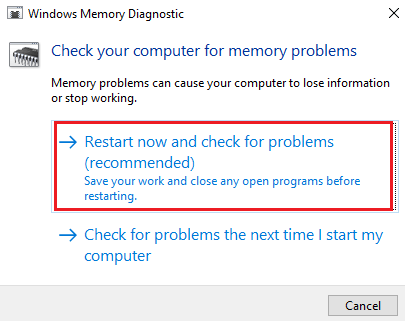
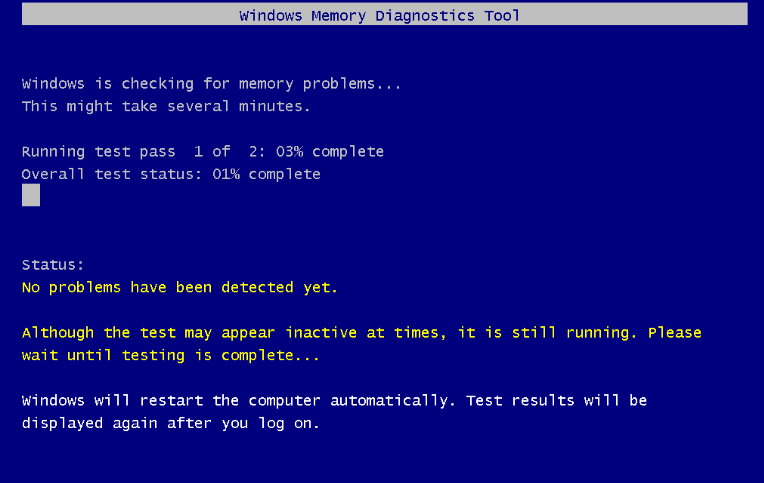
Your PC will reboot and display the results once the test is done.
5. Update or Reinstall the Problematic App
For errors occurring with a specific app, updating or reinstalling could resolve the issue. Updates may include necessary bug fixes or improve compatibility with your system. If issues persist after updating, you may need to reinstall the app to eliminate any corrupt files or configurations contributing to the error.
Before reinstalling the app, check for updates. If updating doesn’t solve the problem, you will have to reinstall the program.
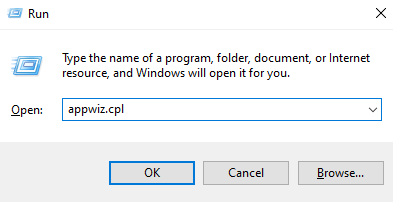
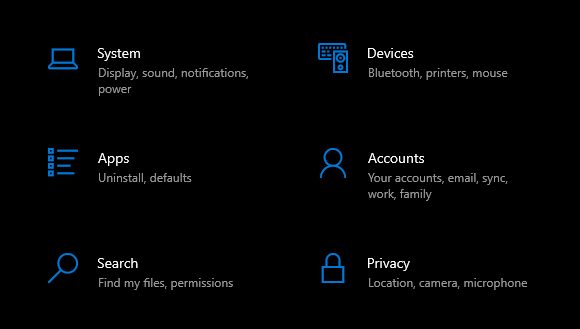
- Open Windows Settings by pressing Win + I.
- Navigate to the Apps section.
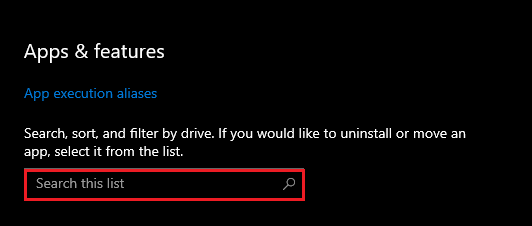
- Search for the app in the search box.
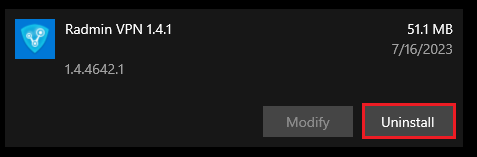
- Click on the app to highlight it and select Uninstall.
- After removal, reboot your PC. Then, reinstall the app from its official site.
6. Run Malware Scan
A malware scan can help determine if malicious software is causing the error. Malware scanning can help remove any unwanted software that might interfere with system processes or cause corruption, leading to an error.
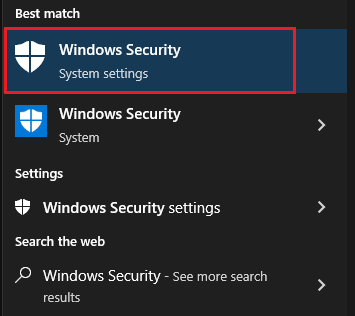
- Press Win + S to open the search box.
- Type “Windows Security” into the box and open the app.
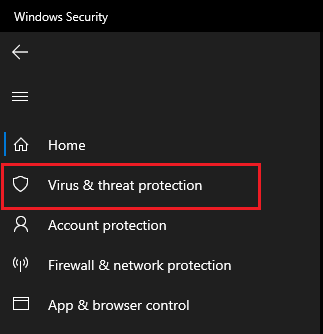
- In the Windows Security app, select Virus & Threat Protection.
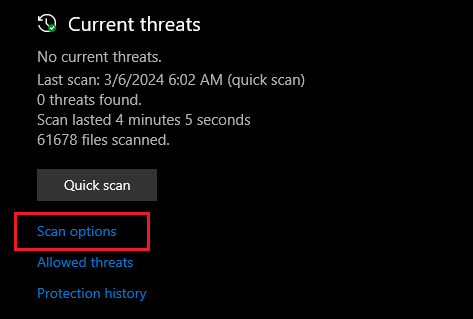
- Choose the type of scan by clicking on Scan Options.
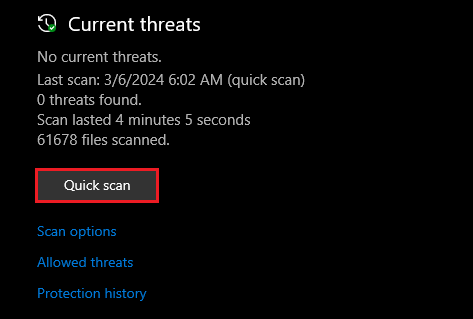
- Initiate the scan by clicking Scan Now.
You may also use reputable antivirus software such as Avast or Malwarebytes for a comprehensive system scan.