How to Fix ‘Virtual Machine Disk Consolidation is Needed’ Error in VMware?
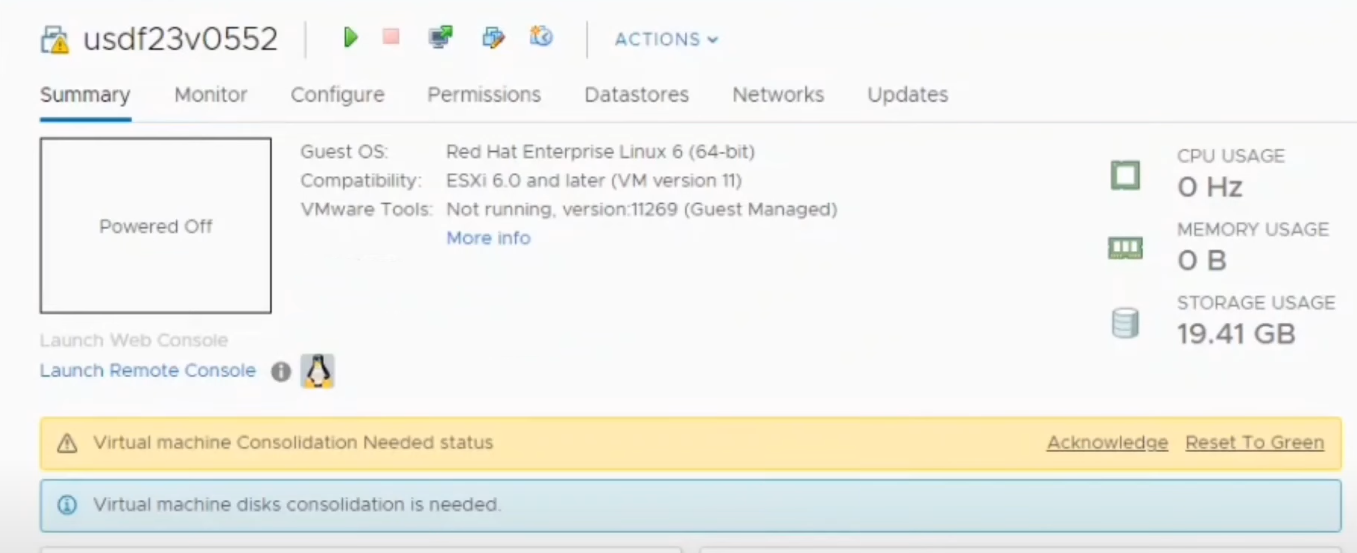
Virtual disk consolidation is a process where virtual disk files are merged into a single file. This occurs when a snapshot is taken; delta disks are created to store the changes made since the last snapshot. The virtual machine disk consolidation is needed message appears when there are excessive snapshots of your virtual machine, necessitating their merger to ensure the virtual machine’s performance is not impacted.
However, errors may arise during the attempt to merge the virtual machine disk files. These errors can often be resolved straightforwardly.
Consolidation of Virtual Machine Disks in VMware
To clear the “Virtual machine disks consolidation is needed” status, you must consolidate the virtual machine disks.
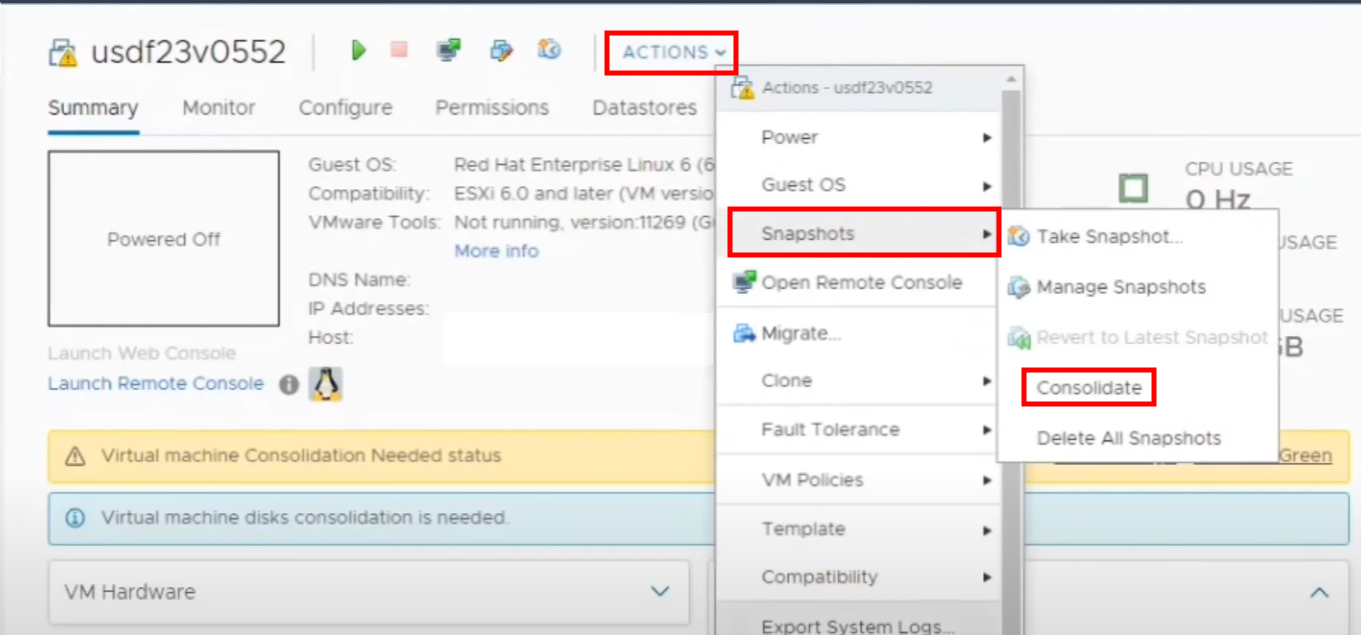
- Select the Virtual Machine that requires Disk Consolidation.
- Click the Action button and hover over the Snapshots option.
- From there, select Consolidate. A confirmation prompt will appear; click Yes.
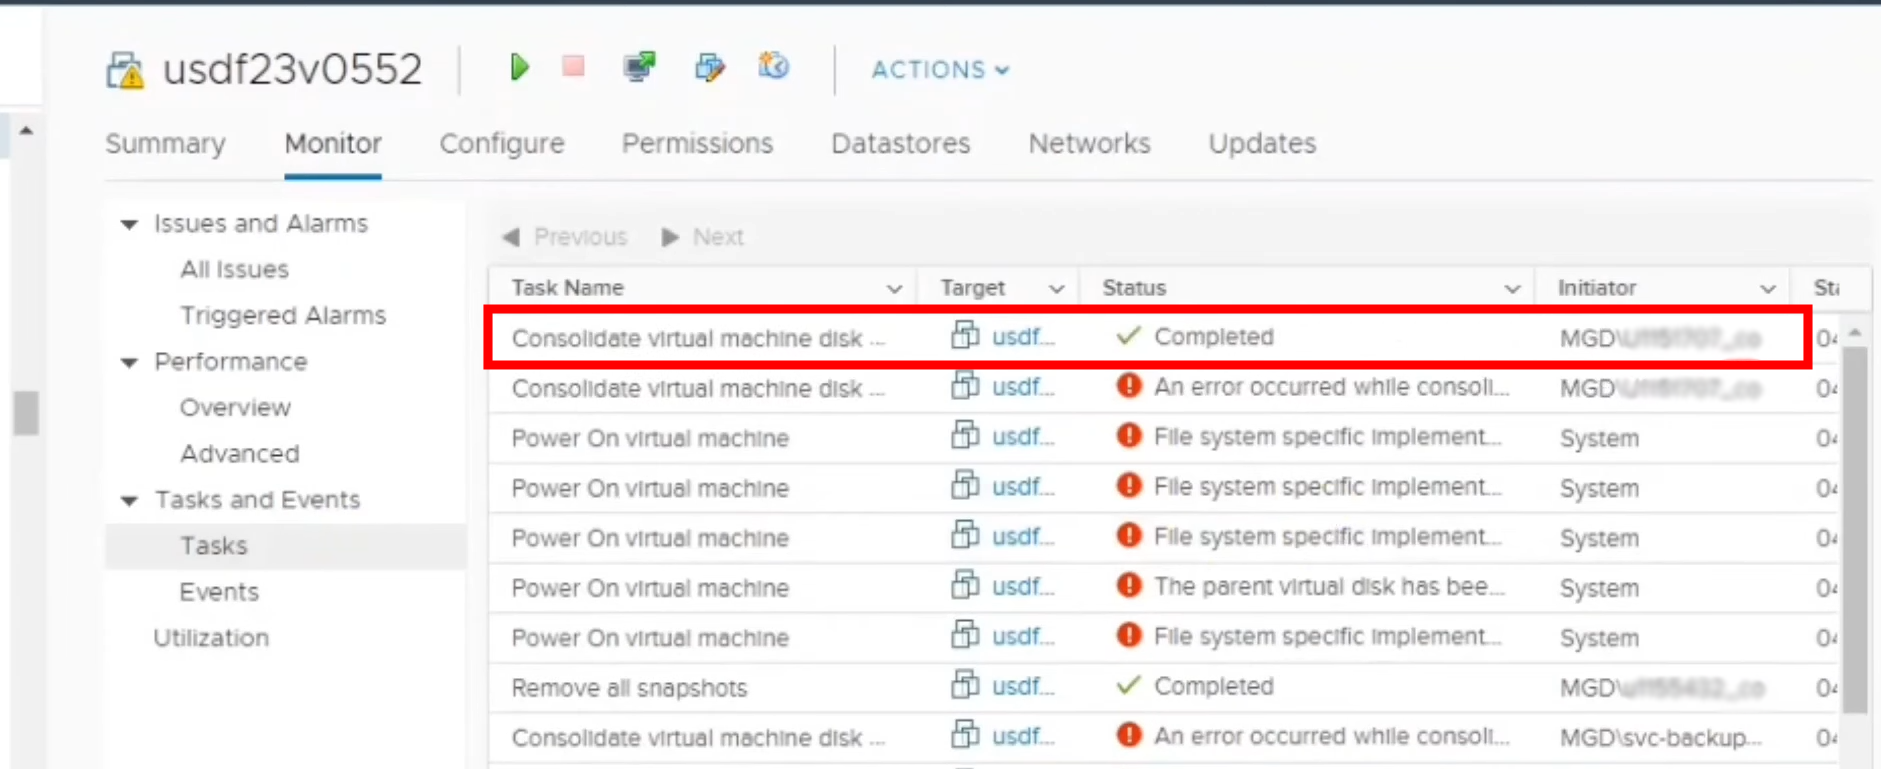
Errors You Might Encounter During Consolidation
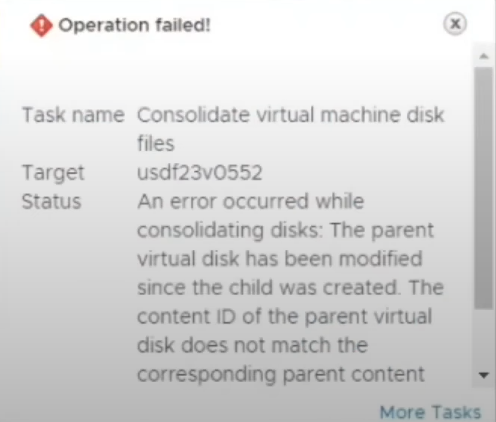
During disk consolidation, you might encounter an error stating, “The content ID of the parent virtual disk does not match the corresponding parent content ID in the child”. This error occurs when the chain of virtual disks to be consolidated has differing Content-IDs and cannot be merged.
Another possible error is “Unable to access the file since it is locked”, which happens when the virtual machine is running, snapshot operations are being performed, or third-party services used by the virtual machine lock the file.
FIX: The Content ID of the Parent Virtual Disk Does Not Match the Corresponding Parent Content
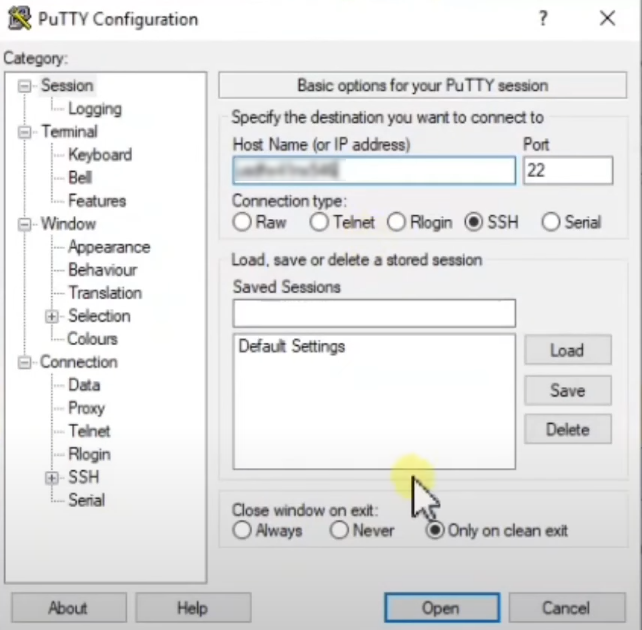
Firstly, copy the hostname of the affected virtual machine and input it into the PuTTY configuration window, a free SSH client available for download. This will open a terminal.
NOTE: Be aware that the procedure described below carries the risk of corrupting the virtual drive and should only be attempted if you understand partitioning schemes.
- Launch the PuTTY Configuration window and enter the Host Name of the virtual machine with the error.
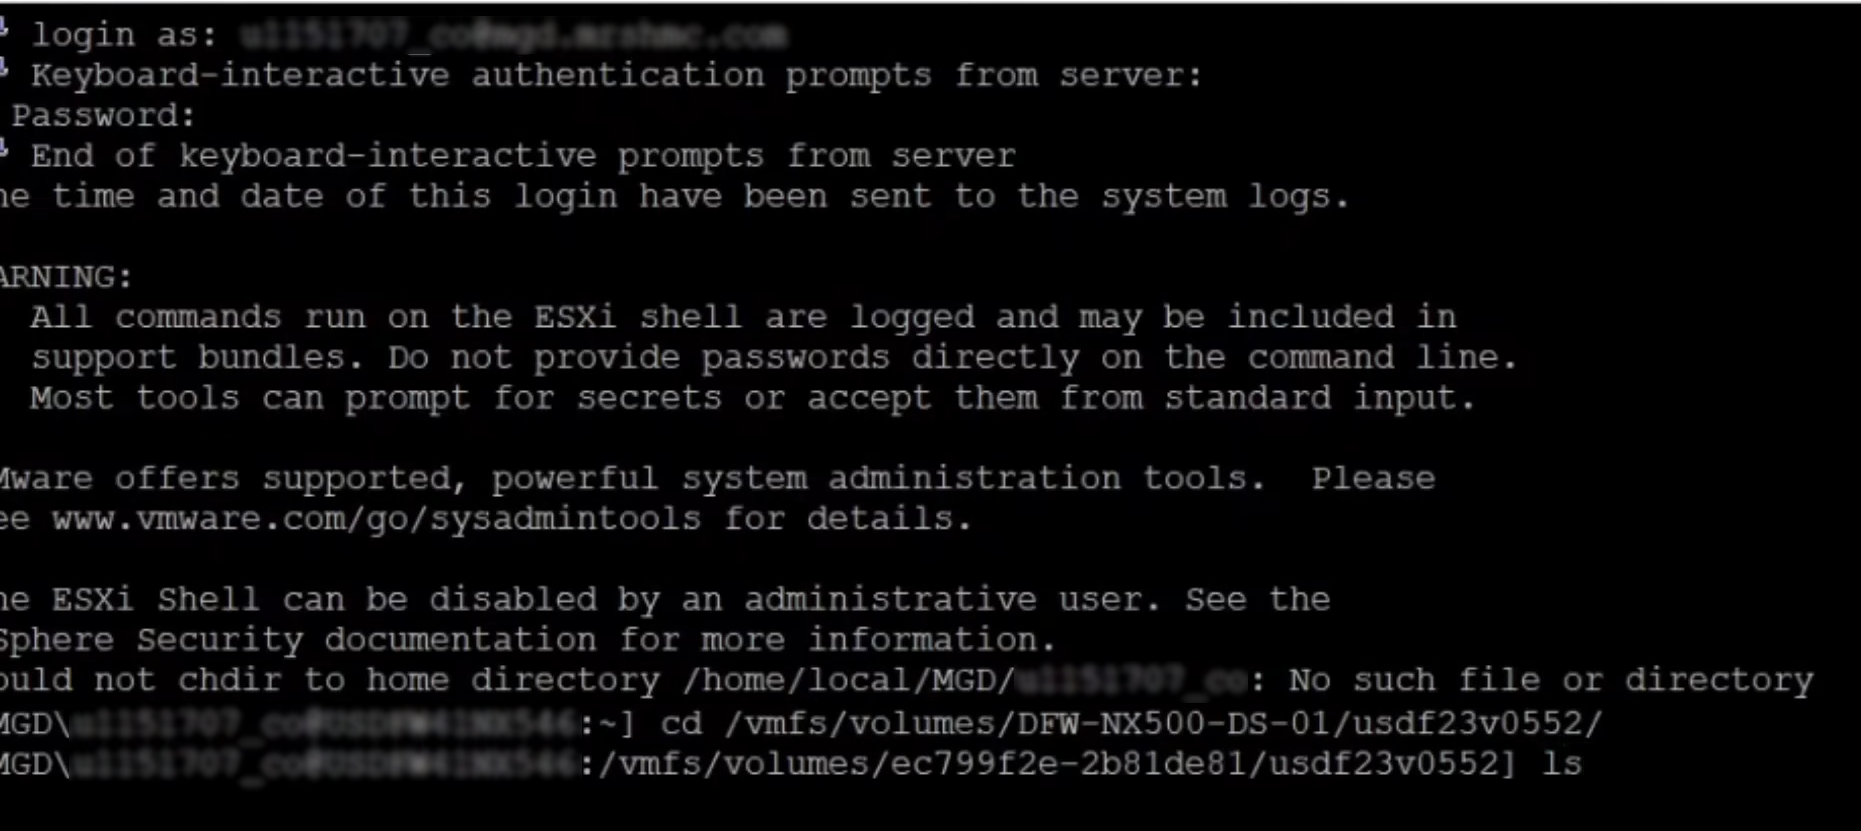
- A terminal will open, where you should log in using the credentials of your virtual machine.
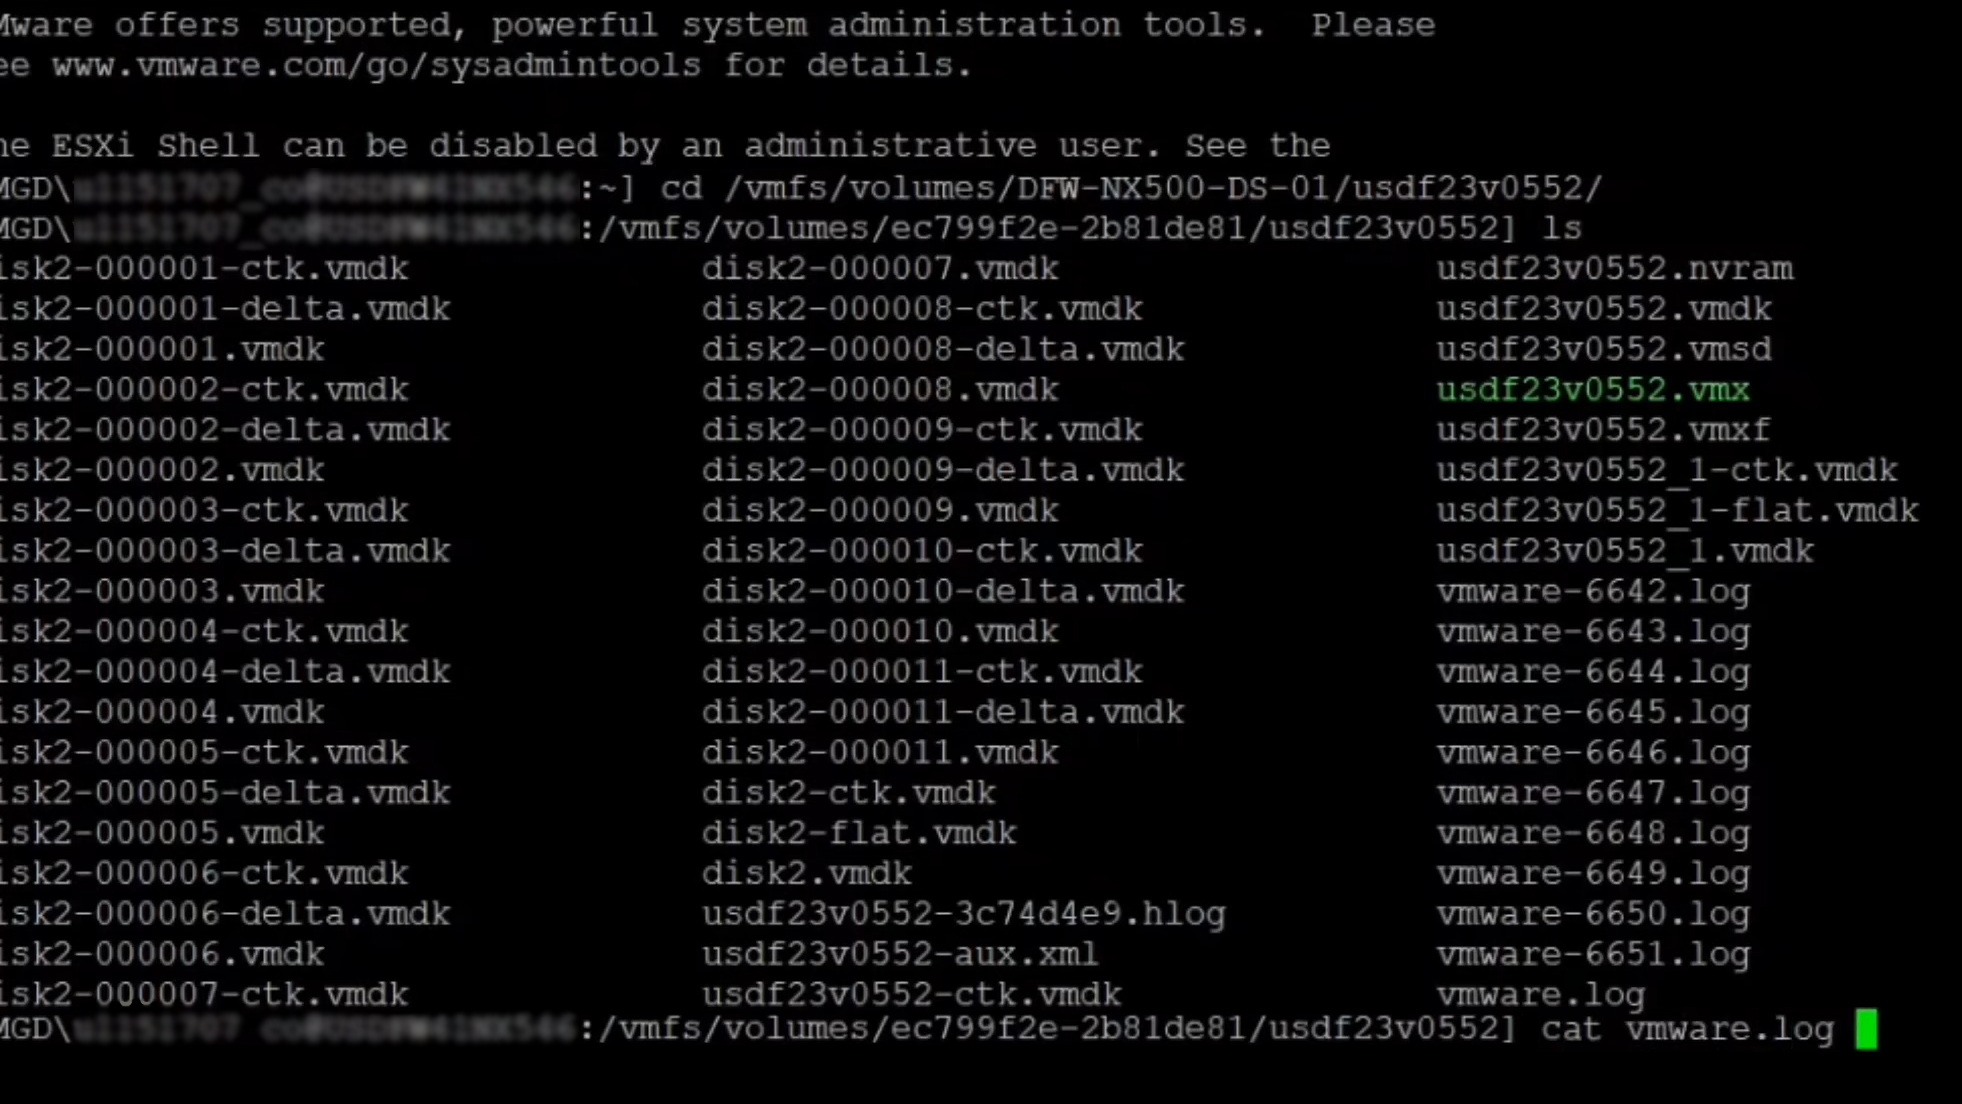
- Change your directory to where the virtual machine’s disk files are stored using the command “cd /vmfs/volumes/DatastoreName/VmName”, replacing ‘DatastoreName’ and ‘VmName’ accordingly. Then type “ls” to display all the virtual disks.
- Next, you must identify the two conflicting virtual disks. To do this, type “cat vmware.log”.
- Look for the “DISKLIB-LINK” text in the log file. Note the disk names indicated in this line as they represent the disks with mismatched Content IDs.
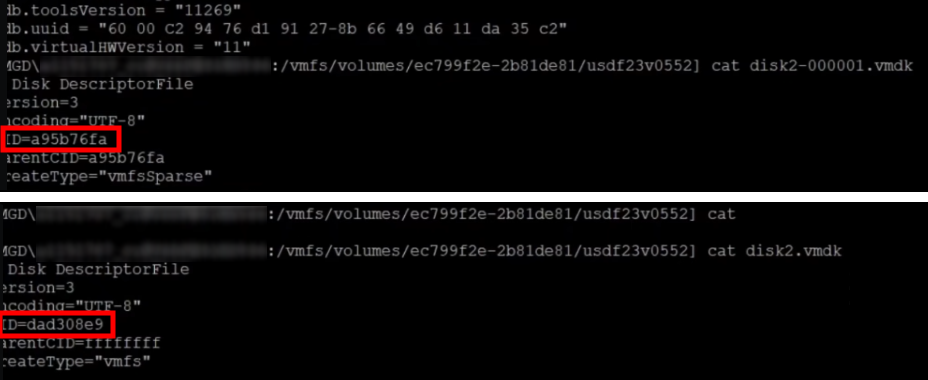
- View the Content IDs of the identified “.vmdk” files using the ‘cat’ command, such as “cat disk2-000001.vmdk” or “cat disk2.vmdk”.
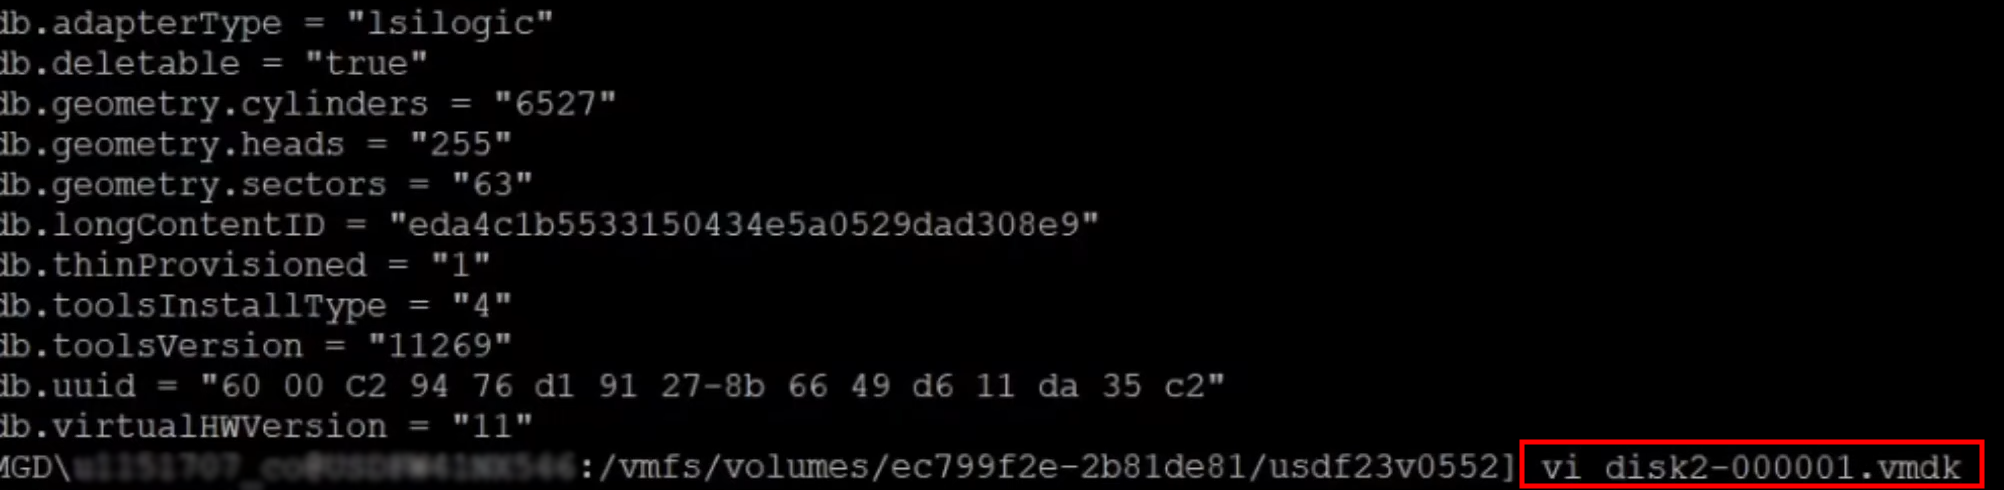
- To modify a disk’s ID, use the ‘vi’ command, like “vi disk2-000001.vmdk”. Copy the ID from “disk2.vmdk” and paste it into “disk2-00001.vmdk” as its new ParentCID.
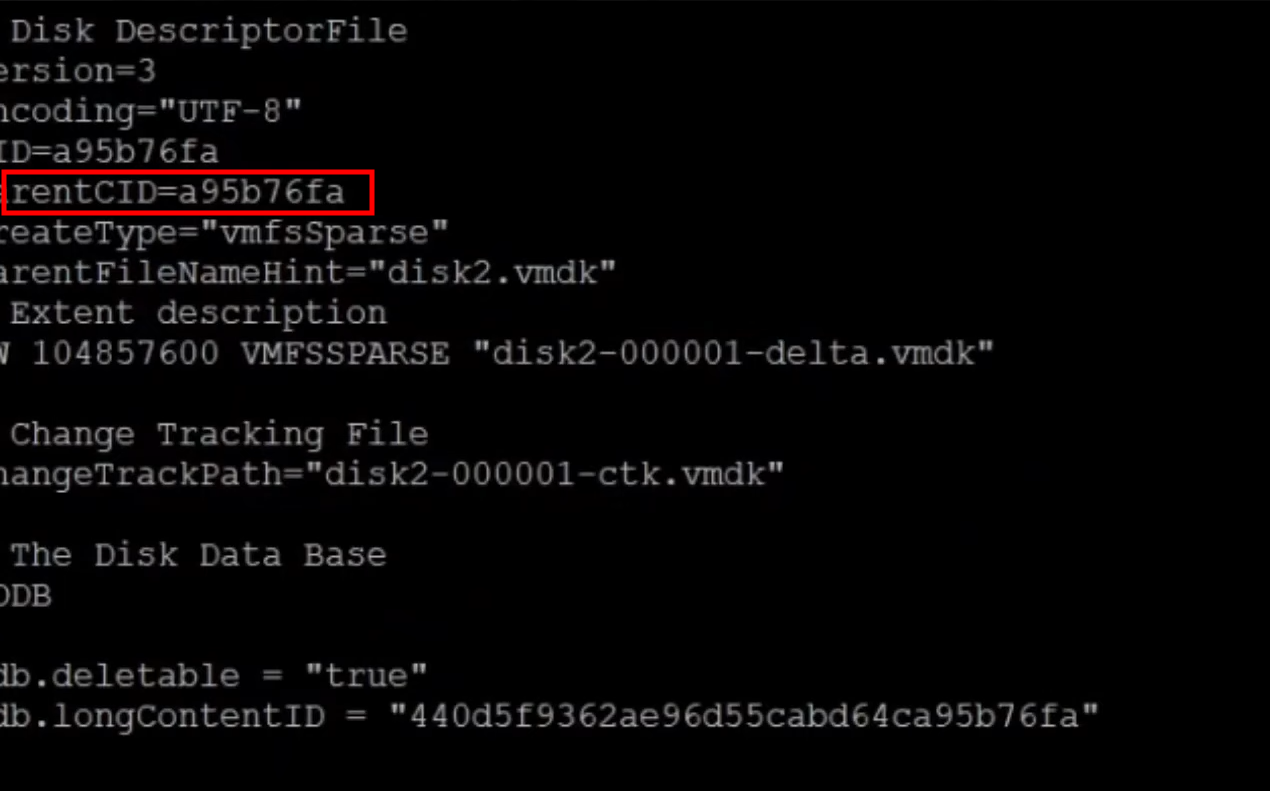
- Replace the ParentCID with the correct Content ID, then press the escape key and input “:wq!” to save and exit. You can now proceed with disk consolidation.


FIX: Unable to Access File Since It Is Locked
To remedy the “Unable to access file since it is locked” error, restart the services.sh script. This will refresh all services using the virtual machine’s disks, eliminating obstacles and allowing the consolidation process to complete.

Restarting the services will temporarily idle the virtual machines, permitting the consolidation to occur without interference.
- Open the PuTTY Configuration window and enter the Host Name of the virtual machine causing the error.
- In the opened terminal, log in as the ‘root’ user and execute “services.sh restart”.

Upon completing these steps, you should be able to successfully consolidate your virtual machine snapshots.