How to Fix “Session Expired” Error on Facebook
One of the most prevalent issues associated with Facebook is the notorious ‘Session Expired‘ error. This problem has been confirmed to occur on Android, iOS, PC, and Mac. In this article, we will examine the various reasons why this issue arises and discuss what you can do to fix it.
What are Facebook sessions?
Sessions are used to keep you logged in to your favorite websites and services. They were initially developed to time out so that someone else couldn’t access any of your sensitive data. Facebook uses sessions in much the same way but generally reserves them for third-party apps and other third-party services. You aren’t supposed to see this error when utilizing the native Facebook applications.
Utilizing sessions is beneficial, as it helps maintain the security of your account and conserves battery life on your mobile device.
Every few minutes or so, Facebook will check the validity of your session, and if it determines that you’ve been idle for too long, it will disconnect, and you’ll get the ‘Facebook Session Expired’ error.
What is causing the ‘Facebook Session Expired’ Error?
In every case where you see this error popping up, it is because Facebook has failed to retrieve the cached information stored on your computer (or mobile device) for your current session. This might happen for several different reasons:
- Another instance of Facebook being accessed on the same device – You can expect to encounter this error in a situation where you were signed in to the same Facebook account on a different app from the same device. This typically occurs on mobile devices and can be resolved by logging out and back into your Facebook account.
- You manually logged out of Facebook on another device. Keep in mind that Facebook uses a single authentication token per account. This means that if you manually sign out from an account, you will be disconnected from any other account.
- You were forced out of your Facebook account due to a technical reason – a DNS-related inconsistency might also be responsible for causing the ‘session expired’ error with Facebook in a situation where the cached data ends up being cleared manually.
- Browser cache issue – If you are experiencing this issue while browsing Facebook from a browser, you should investigate a potential inconsistency affecting your browser’s cache. In this case, clearing the cache should resolve the issue.
- You manually cleared the app cache on your mobile device – If you manually cleared the entire app cache on your mobile device, you will be disconnected from Facebook and Messenger, as the authentication token will also be cleared.
Now that we have gone through every reason why you might encounter the ‘session expired’ error on Facebook, let’s review a series of fixes that other affected users have successfully used to ensure the problem doesn’t recur in the future.
1. Log out of and back into Facebook again.
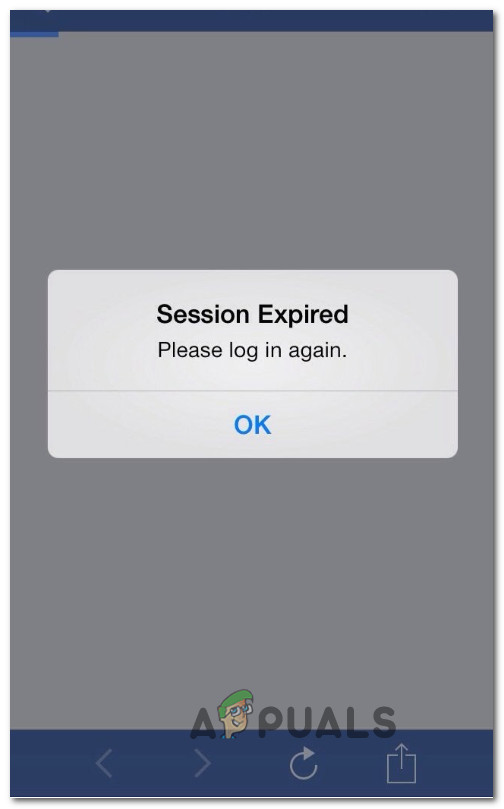
If you see the ‘Facebook session expired’ notification pop up, follow the instructions in the error message. You will need to enter your Facebook account name and password to log back in. If you dismiss the notification, it may continue to appear.
Do this and see if the problem is now fixed. If you continue to see the “Facebook session expired” error despite attempting to sign back in, close the app (or browser page) entirely and open it once again before attempting to log in again.
If this quick fix didn’t allow you to resolve the problem and you are experiencing this issue on a mobile app, proceed to the next method below.
2. Update your Facebook app.
If you have already tried the method above and it did not fix the issue for you, the next thing you can do is ensure that your Facebook app is up-to-date on your mobile device (Android or iOS).
Head to your phone’s app store, whether it’s the Google Play Store or the App Store, and ensure that you have the latest version of the Facebook app installed. Often, simply updating the app can fix any issues you’re experiencing, such as the Facebook session keeps expiring issue.
If you are looking for specific instructions on updating the Facebook App on Android or iOS, please follow one of the sub-guides below:
Update the Facebook app on Android.
The timing of when Android will automatically update your apps varies depending on factors such as whether you are using mobile data or Wi-Fi, and whether your phone is set to battery-saving mode.
If there is an update available for the app causing the ‘session expired’ error in Facebook, you can install it manually by going to the Manage Apps & Devices menu.
For step-by-step instructions on how to do this on Android, check out the guide below:
Note: The steps in the guide will be the same, regardless of whether you’re using a smartphone or tablet. However, the instructions might be slightly different if you’re not using the stock version of Android.
- From the main page of your Android, open the Google Play Store app.
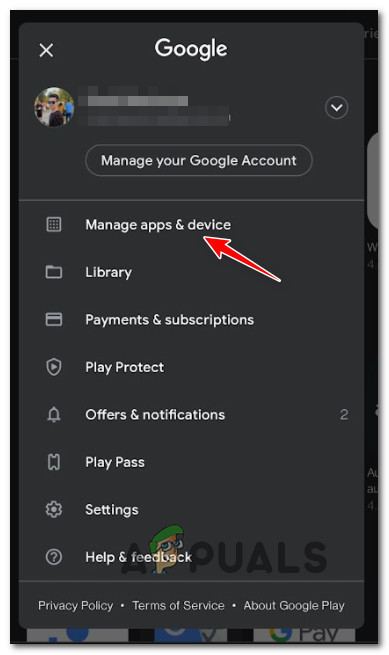
Opening Google Play - Once you’re inside the app, tap the profile icon in the top-right corner.
- A context menu will appear; from here, tap on “Manage Apps & Device.
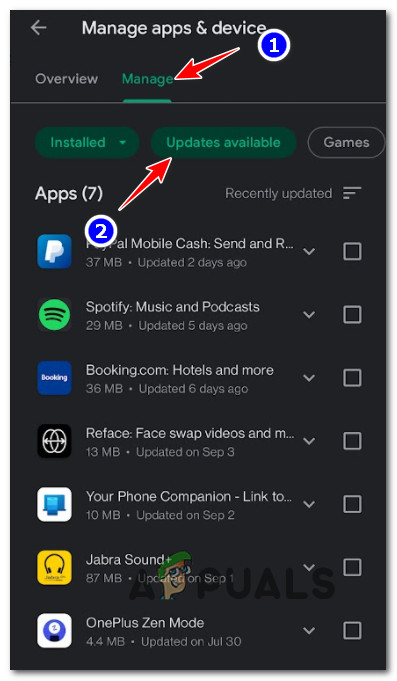
Accessing the Manage Apps menu on Android - In the “Manage Apps & Device” menu, tap on the “Manage” tab, then select the “Updates Available” filter.
Check if the Facebook app needs updating - Find the Facebook app in the list that just appeared.
- If there is a pending update for Facebook, click the Update button and wait for it to install.
- Once the installation of the update is complete, reopen the application and check if the issue has been resolved.

Update the Facebook app on iOS.
Apple is much stricter about updates than Android. Ultimately, it’s up to you whether you want auto-updating enabled or not. If app auto-updating is turned off on your iOS device and the app causing the disallowed_useragent error has a pending update, follow these instructions to install it:
Note: The instructions below will work for the iPhone, iPad, and iPod.
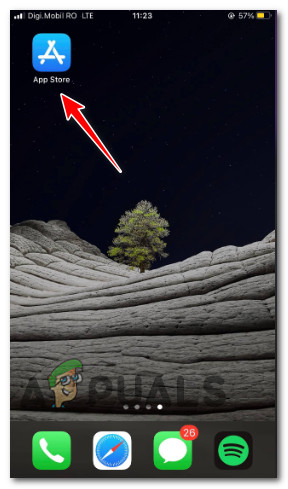
- From the home screen of your iOS device, find and tap the App Store icon.
Open the App Store - Once the App Store is open, locate and tap your Apple profile icon at the top of the screen to bring up the App Store settings menu.
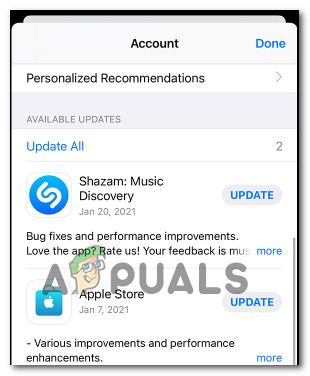
- In the context menu that just opened, scroll down to the “Available Updates” section.
Install the available updates - Click on the Update button associated with the Facebook app.
- Once the update is installed, open up the application again and see if the problem has been fixed.
If you have already tried updating the Facebook app and you are still receiving constant ‘session expired’ errors with the Facebook app, proceed to the next method below.
3. Clear the cache and data (for Android and iOS).
It turns out that there is another issue that might ultimately cause the ‘session expired’ error with the Facebook app: an inconsistency with the cache files associated with the Facebook app.
This problem is caused by a corrupted authentication cache file, preventing the user from connecting and validating the current session. Several affected Facebook users reported that simply clearing the cache and data on their mobile devices resolved the issue for them.
Depending on the mobile platform you are using when encountering this issue, follow one of the sub-guides below to learn how to clear the cache and data for the Facebook app.
Clear the cache and data of Facebook on an Android.
If you’re experiencing this issue on an Android mobile device, you need to access the Apps section and start by tapping on Force Stop in order to force close the app.
After completing this task, you can access the Storage menu to clear the cache and temporary data of the Facebook app without worrying about potential interference.
Follow the instructions below to do this:
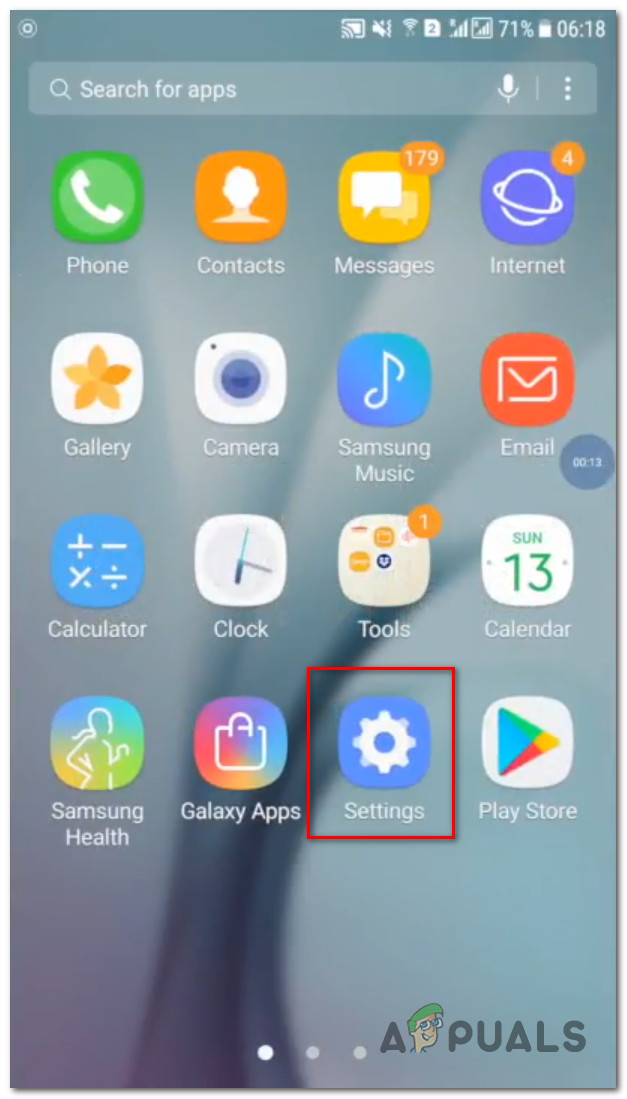
- To access the settings menu on your phone, tap on “Settings” from the home screen of your Android device.
Accessing the Settings menu - Then, search for the Apps section and click on it.
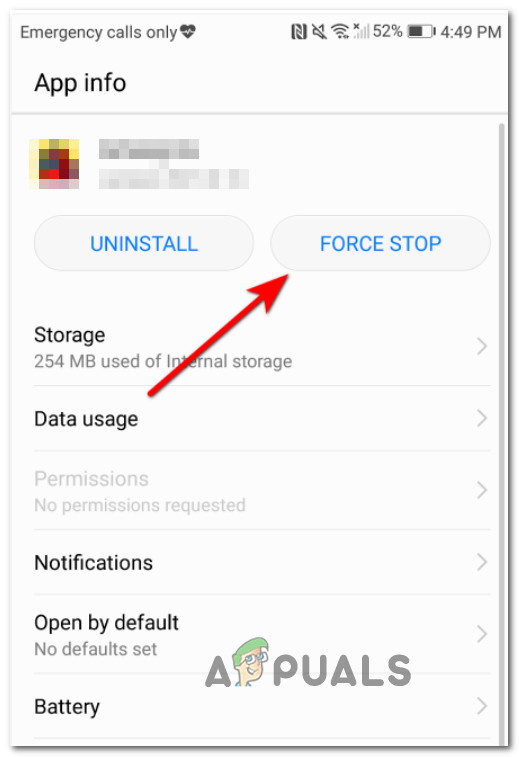
- Inside the Apps menu, locate the Facebook app and tap on it to access it; then click on Force Stop to force the app to close.
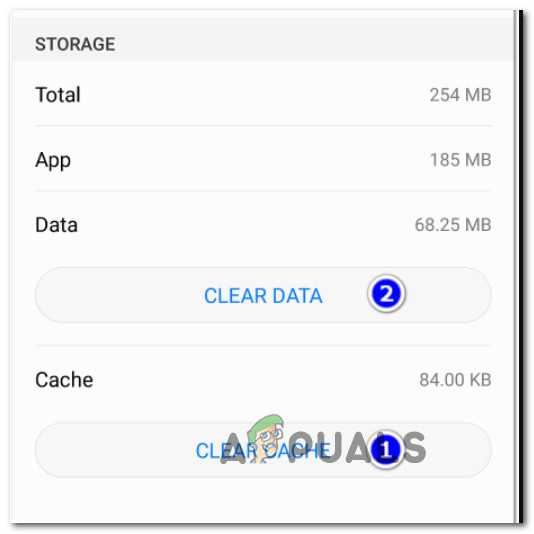
Force stop the Facebook App - After forcing the app to close, access the Storage menu. Clear the cache by pressing the button, and then clear the data for the Facebook app.
Clear the data and cache of the Facebook app - Before entering the game, go to the Play Store and check if there are any available updates for the game. If any updates are available, install them and wait until the operation is complete.
- After you have checked and installed any pending updates, restart your phone before opening the Facebook app again. This should fix the problem.
Clear the cache and data for Facebook on iOS.
If you are experiencing this issue on an iOS device, you need to access the Settings menu of your iPad or iPhone and navigate to Storage. From the iPhone/iPad Storage menu, locate the entry associated with the Facebook app and clear the cache and storage data.
Follow the instructions below for the complete steps on how to do this:
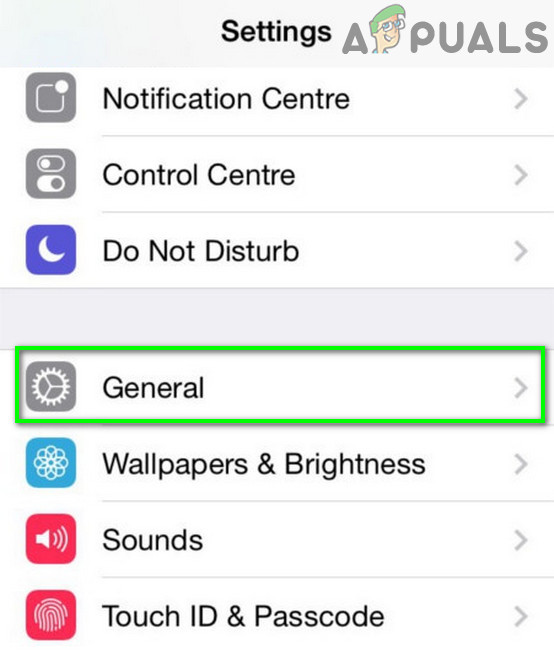
- To fix the problem, access the Settings menu, then click on General.
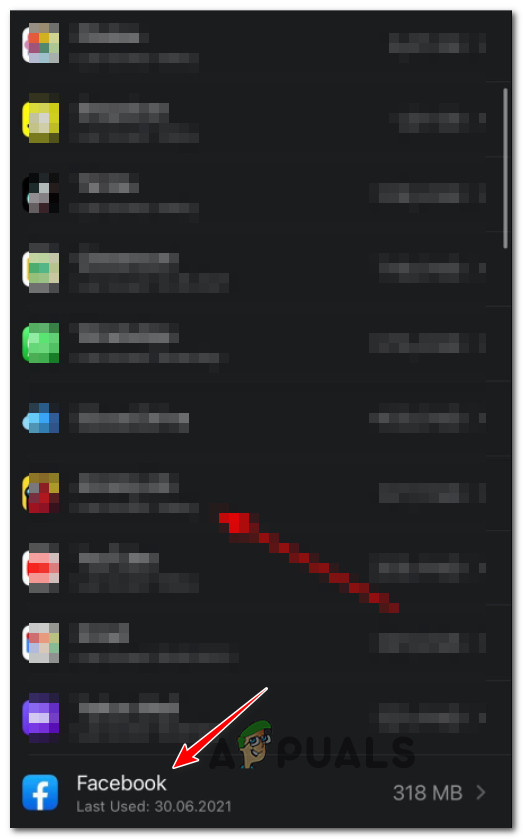
Accessing the General tab - Then go to iPhone Storage, search for the Facebook app, and access it.
Access the Facebook app - From the context menu that just appeared, press the “Offload App” button.
- At the next prompt, confirm it and wait until the operation is completed.
- Reboot your phone, then open the Facebook app again, and see if the problem is now fixed.
4. Remove or disable extensions (applicable to PCs and Macs only).
If you are experiencing the ‘session expired’ error while accessing Facebook from a web browser and have more than one browser extension or add-in enabled, that might be the reason for the error.
To figure out which extension is causing the ‘session expired’ error, disable your extensions one at a time until you identify the culprit. This is applicable to every major browser, including Google Chrome, Mozilla Firefox, Opera, Edge, and every other Chromium-based browser.
Note: The instructions for disabling your extension or add-in will vary depending on your browser.
To make it easier, we have put together a series of sub-guides that will walk you through the process of disabling extensions on every major browser out there.
Follow the sub-guide below that is applicable to the web browser you are using on your PC.
Disable extensions on Google Chrome.
Chrome is the only main browser that designates its extensions as ‘extensions’. Every other third-party browser refers to the optional updates that you can install as ‘add-ons’. Furthermore, the instructions for disabling extensions on Chrome differ from those of most of its competitors.
To disable an extension on Chrome, follow these steps:
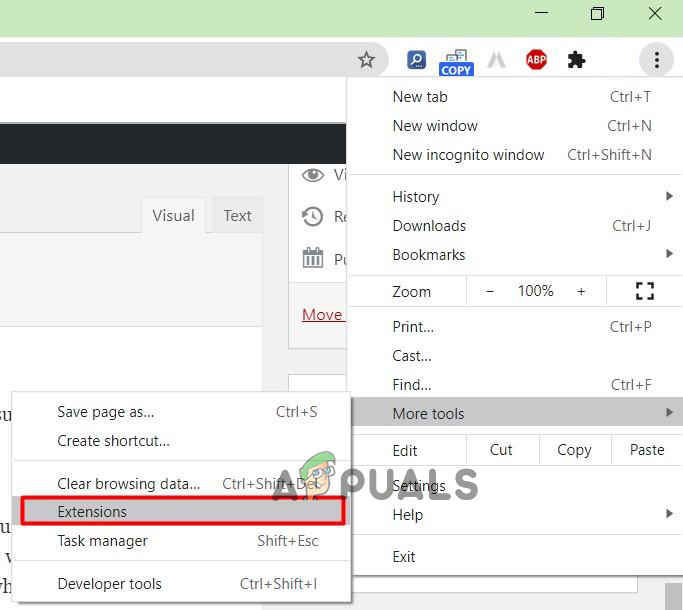
- Begin by opening the Google Chrome browser on your desktop device and click on the action button (three-dot icon) located in the top-left section of the screen.
- From the context menu that just appeared, click on “More tools,” then click on “Extensions.
Accessing the Extensions tab - Select the available extensions and disable the one that you believe might be causing the problem with the Facebook web app.
- After the extension has been disabled, reload the Facebook page and check to see if the ‘session expired’ issue has been resolved. Note: We suggest disabling all installed extensions until you can identify which one is causing the issue.
Disable extensions in Mozilla Firefox.
Unlike Google Chrome, Mozilla Firefox uses a proprietary framework. Consequently, the instructions for disabling potentially problematic extensions that might conflict with Facebook differ significantly.
To disable add-ons that might cause the ‘session expired’ error on Facebook in Mozilla Firefox, follow the instructions below.
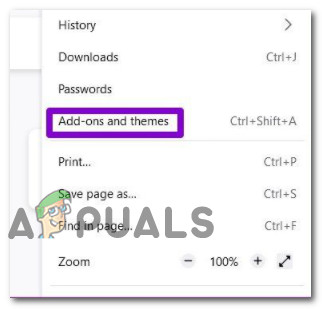
- Click on the menu button in the top-right corner of your Mozilla Firefox screen.
- A context menu will appear with several menu items to choose from. Select Add-ons and Themes from the context.
- From the Add-ons and Themes menu, select Extensions.
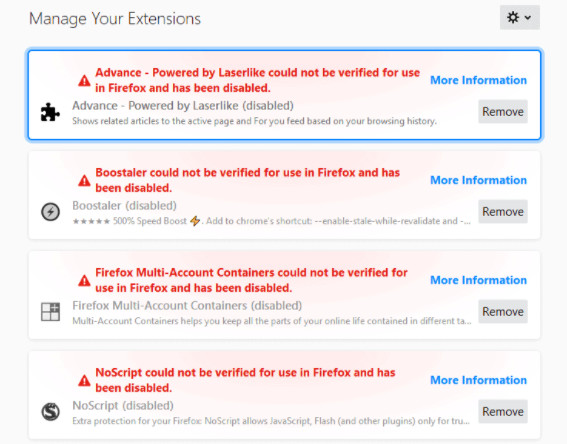
Accessing the Add-ons and Themes menu - Once you locate the extensions menu, disable the extension that might be causing interference with Facebook by unchecking the toggle next to it.
Disable the Firefox Add-ons - After the extension has been disabled, reload the Facebook page and see if you still receive the “session expired” error.
Disable extensions on Opera.
Opera refers to its extensions as ‘plugins,’ and the instructions for disabling them are unique and more complex than those for any other browser.
To learn how to do so, follow the instructions below:
- In order to disable a plugin in Opera, you need to first open your Opera browser and enter one of the following addresses into the navigation tab at the top of the page:
opera://plugins (for legacy Opera versions)

opera://settings/content/flash (for older Opera versions)

opera://extensions (for newer Opera versions)
- Once you press Enter, this will take you to the plugins page.
- Once you are on the extensions page, you will be able to see all the plugins that are currently installed and activated.
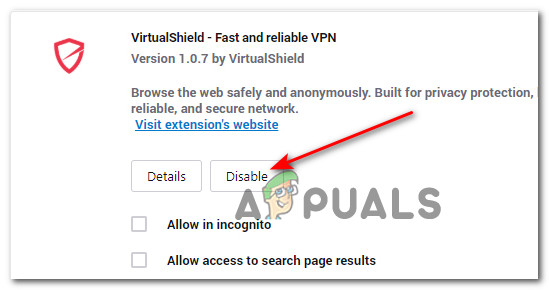
- If you wish to disable an extension, simply click on the “Disable” button located below it.
- You can also use the toggle button on the right side of the extension to enable or disable it.
Disable the Opera plugin - Once you have reloaded the page that was previously displaying the ‘session expired‘ error on Facebook, check to see if the problem is now fixed. Note: If disabling the first extension or plugin made no difference, continue disabling the remaining ones until you finally manage to identify the app that conflicts with the Facebook app.
- If at any point you want to re-enable a plugin or extension, click on the “Enable” button located below it.
Disable extensions in the Edge browser.
The latest Microsoft Edge versions are based on Chromium, which means they use the same framework as Chrome. If you’re seeing the ‘session expired’ error every time you visit Facebook.com, it might be caused by an installed extension.
Here is how to disable extensions that could be causing the problem
- Launch Microsoft Edge as you normally would.
- From the home page, click on the action button in the top-right corner of the browser window.
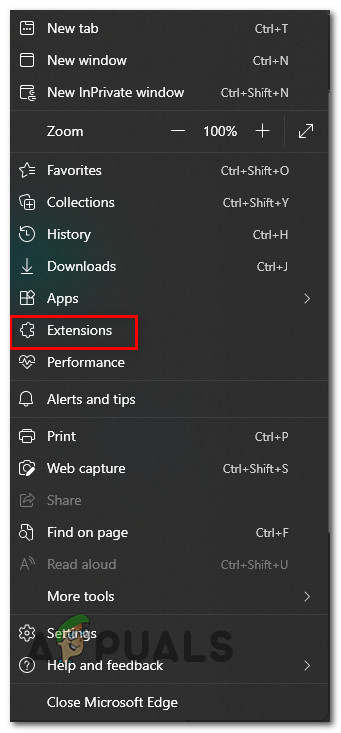
- A context menu will appear. When you see it, click on “Extensions” from this menu.
Accessing the extensions tab on Edge - This will bring up a list of extensions through which you can scroll to find the one you’re looking for.
- Cycle through the list of enabled extensions and target the one you suspect is conflicting with the Facebook web app.
- To disable the extension, simply disable the toggle next to it.
- Once the extension is disabled, open the Facebook web app once again and check if the problem has been fixed.
If you are still experiencing the same ‘session expired’ error despite disabling the problematic extensions, proceed to the next method below.
5. Restart your device.
If you’ve come this far without a resolution, one thing you can try, regardless of the device on which you’re experiencing this issue, is to simply restart your desktop or mobile device.
Just a simple restart should do the trick in case you are experiencing the ‘session expired’ error on Facebook due to a glitch affecting the auth cookie.
Several affected users have confirmed that this operation allowed them to finally access the social media platform without being constantly booted out by the ‘session expired’ error.
If you have already tried this fix and it did not have any effect for you, move on to the next method below.
6. Reinstall the Facebook app (for mobile devices only).
If none of the methods above fix the ‘session expired’ issue with Facebook, your next step should be to try reinstalling the Facebook app in order to clear any potentially corrupted data that might be causing this problem.
Important: This method will work only if you are experiencing the issue on mobile devices (Android and iOS).
Depending on the platform where you encounter the issue (Android or iOS), proceed by following one of the sub-guides below to reinstall the Facebook app completely and clear up the temporary files to see if that fixes the issue.
Note: Instructions for doing so will vary depending on your platform of choice. To cover both scenarios, we have created guides with instructions for each platform.
Reinstall the Facebook app on Android.
Android has all core functionality across every device, but certain OEM reskins might make the steps below slightly different from the default experience on the stock version of Android:
- To uninstall the Facebook app on your Android phone or tablet, first open the Google Play Store application.
Accessing the Play Store - Once you’re inside the app store, use the action menu on the left to select ‘My Apps & Games.’
- Next, tap on ‘Library‘ from the menu that just appeared.
Accessing the My Apps and Games menu - From the “My Apps & Games” menu, select the “Installed” tab at the top.
- Then, scroll down through the list of installed applications and tap on the Facebook app.
- At the next menu, click on ‘Uninstall‘ and wait for the operation to complete.
- After the application has been uninstalled, return to the Google Play Store and reinstall the Facebook app.
- Launch the app once again and see if the problem is now fixed.


Reinstall the Facebook app on iOS.
- To uninstall the Facebook app on your iOS device, start by tapping and holding the icon until it begins to jiggle.
- Once the Facebook icon starts jiggling, press the small ‘X‘ button in the upper left corner to begin the uninstallation process.
- After you have uninstalled the app, press the Home button on your device to exit deletion mode.
- Now, open up the App Store and search for Facebook.
- Next, follow the on-screen prompts to reinstall the app.
- Finally, once the app is reinstalled, launch the Facebook app and see if the problem has been fixed.